Bronze Sword Project (part1)
Silent Thunder Ordnance
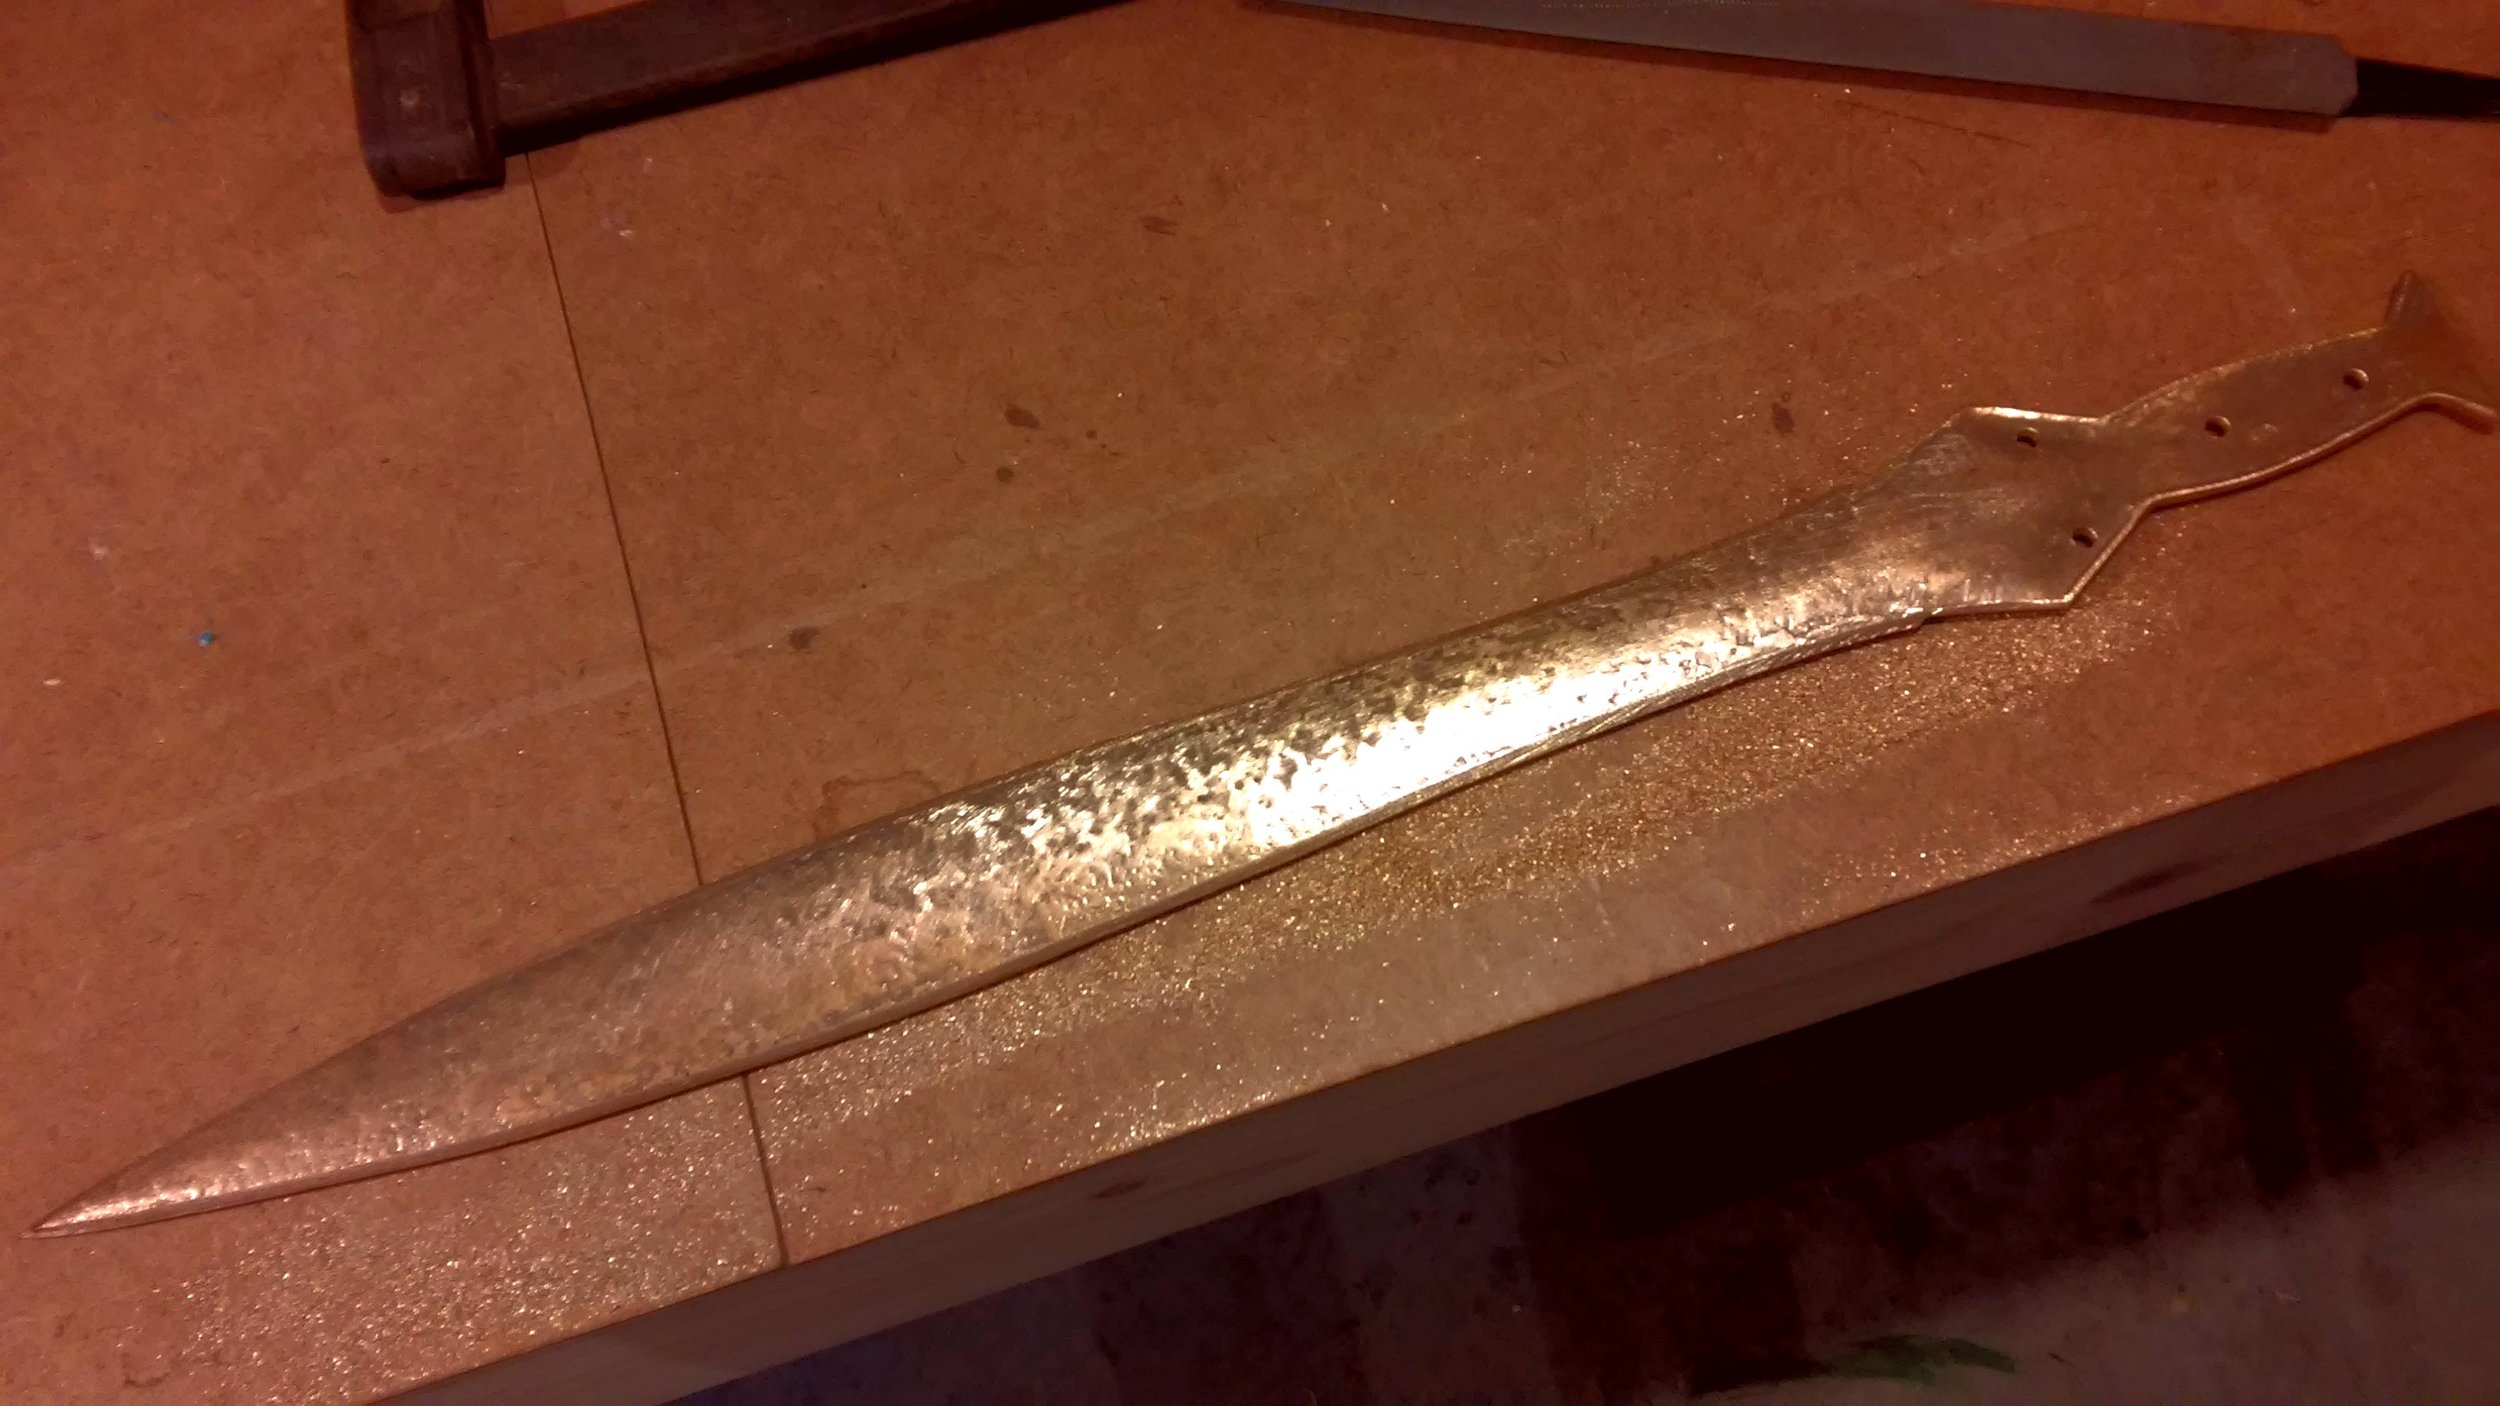
Raw bronze sword blank as it came from the maker
Pertinent to this style of archery are the other weapons/tools/technologies used. Our interests certainly cross over. To that end, one of us recently acquired a raw cast bronze sword blank as a gift. Why not blog about the process of turning it into a finished weapon? I apologize in advance for the quality of the photography. The workshop is a place too dark for quality photography and with harsh lifeless lighting.
SIZE UP THE PROJECT
I have the sword blank, what other parts and materials will I need to complete the project? Even more fundamentally, what are the goals of the project? Goals wise, I'd like a functional, but display quality, piece complete with handle and sheath. To that end I'll need to refinish the blank, source wood for the handle, and source pin stock. Pin holes mic out at 3/16", and I have an idea regarding contrasting colors to throw some real beauty in here against the wood. The handle is of a length that a roughly 6" wood blank will be necessary to cover it, depending on handle design. The sheath/scabbard will come later. I haven't decided yet to what extent I want to cheat and just CNC mill out the pocket for the sheath, or do it by hand. I should also add that, while the sword came with instructions, they are borderline illegible and not particularly useful diagram-wise. A to-scale pattern would have been dandy, but not strictly necessary.
The photograph at top is the raw sword as it came. The edges clearly have been hit with an angle grinder, and it looks like someone vaguely scared the surface with a wire brush, but clearly we have a long way to go here.

Handle layout
LAY OUT THE HANDLE
Lets lay out the handle blank on paper, by simple tracing, and then use some basic drafting tools (compass, protractor, square, etc) to draw what sort of finished handle design I want. I traced the sword handle a number of times, figuring I'd screw up a few. I started with just a sketch to see what sort of look I liked. From there, I went to the precision draft to get the exact pattern I'll use when cutting the handles. You'll note the holes are not well positioned, however the unevenness of the sword's surfaces conceal a secret: the handle is remarkably symmetric. The square butt of the handle isn't to my tastes, but nor are the heinous looking bulbs of a pommel which I'm told are historically accurate. I went for a mild arc which I'll keep the profile thickness of the rest of the handle. The space in between is room for a little personal flourish. Given the mysticism and magic of swords, I'm leaning toward a modern analogue of foxfire.

Beginning the rough filing/shaping of the sword
ROUGH OUT THE PROFILE
File the sword to profile. This really is about as simple as it sounds, and only took me about an hour per side. Holding down the sword at its high points, so as to avoid bending it, I simply filed away the surface imperfections from casting while maintaining the cast shape. I also did some tapering toward the edges, since obviously you can't cast a thin edge readily. Historically these edges would have been forged to work harden the cuprous alloy, a double edged sword pun intended, however finding little information on how this is actually accomplished I experimented a little then abandoned it.

Rough shaped sword, ready for finishing.

Sanding out the file marks, particularly challenging in detail areas such as near the hilt
BRING THE SWORD UP TO FINISH
Interminable sanding. Seriously. EVERY LAST FILE MARK. This takes hours, and requires quite a bit of diligence. Perhaps if I were smarter I would have covered the blade in marking fluid to make it obvious where remaining scratch marks were hiding, but I did it by simply looking in the reflections off the blade for non-aligned scratches. I cheated here and used an oscillating detail sander to make my life easier rather than doing it entirely by hand. You sand in one direction, check for any scratches reflecting light going in a different direction than the scratch pattern you left, and scrub out anything you find. You then sand 90 degrees opposed and repeat the process. When you're done, no matter the direction you sand in, all scratches should reflect light as parallel.

Where I stopped before attaching handles, 320 grit. Heating the handle will result in discoloration, which will need to be scrubbed out, not to mention working on tools runs the risk of adding scratches.
DON'T FINISH TOO HIGHLY THOUGH......
High on the euphoria of completion after hours work getting the file marks out, I started working my way up the grits. Seen above is where I stopped, at 320 grit, because we're about to attach the handles. This process involves heating the blade tang to form the wood scales to the complex shape. The result being you want the sword to be its finished shape, however you'll have to refinish it so no point in going to too fine a finish. Once again, for every grit, sand it entirely in one direction until the scratch pattern is parallel and then again 90 degrees opposed checking for any out-of-alignment reflections.
That is it for now. We'll continue this project in a future blog post. Thanks for reading!