Turkish Flight Arrow Inspired Project
Silent Thunder Ordnance

So, arrows, we all use them, we all lose them, we all break them. This project has been an extremely long time in coming, but we've been chipping away at it in free time/off hours for.... gosh could it really be two years now? Anyway, I hope everyone enjoys a look at the build process, maybe even is inspired to make arrows for themselves. Fair warning though, this isn't a route to cheap and cheerful arrows. This has to be a labor of love, because by the time you're done these arrows will not be particularly cheap and a lot of TLC will have gone into them. Then again, are any of us really in archery for any reason other than love?

Rough sawn boards ready to be cut to blank length. (three per board in this case)
Wood arrows all start from the carcasses of dead trees in one way or another. In this case we went with the delicious smelling corpse of a red cedar, rough sawn to 1" nominal. 1" nominal seems to be getting thinner and thinner by the year, these boards were 3/4" and a whisker, but such are the times. You're looking for as straight, tight grained, and knot free as you can find. The whiter (sapwood in this species?) yields lighter arrows, while the darker (heartwood?) yields stronger ones. We'll use all of it. My god have cedar prices gone up, while you're looking at enough for ~100 arrow blanks, granted at 100% yield which never happens, it was also almost 100$ worth of lumber. We're on the chop saw here to cut each board to rough length. Why we do this before ripping will become obvious in the next slide.

Planing the boards to align one side with the grain. This results in arrows with longitudinal grain, which is stronger, as wood arrows tend to fail along grain boundaries.
So here it is, the reason to cut it into blank length first: each board must now be planed so that the grain runs close to longitudinally in the arrow as possible. If this were done to the whole board at once, your losses at one end would be massive and would be much more work. Ergo blank length first. My personal rule of thumb, which I'm sure a master fletcher would dispute, is that so long as a single grain line runs at least 1/2 the length of the finished arrow, you're okay.
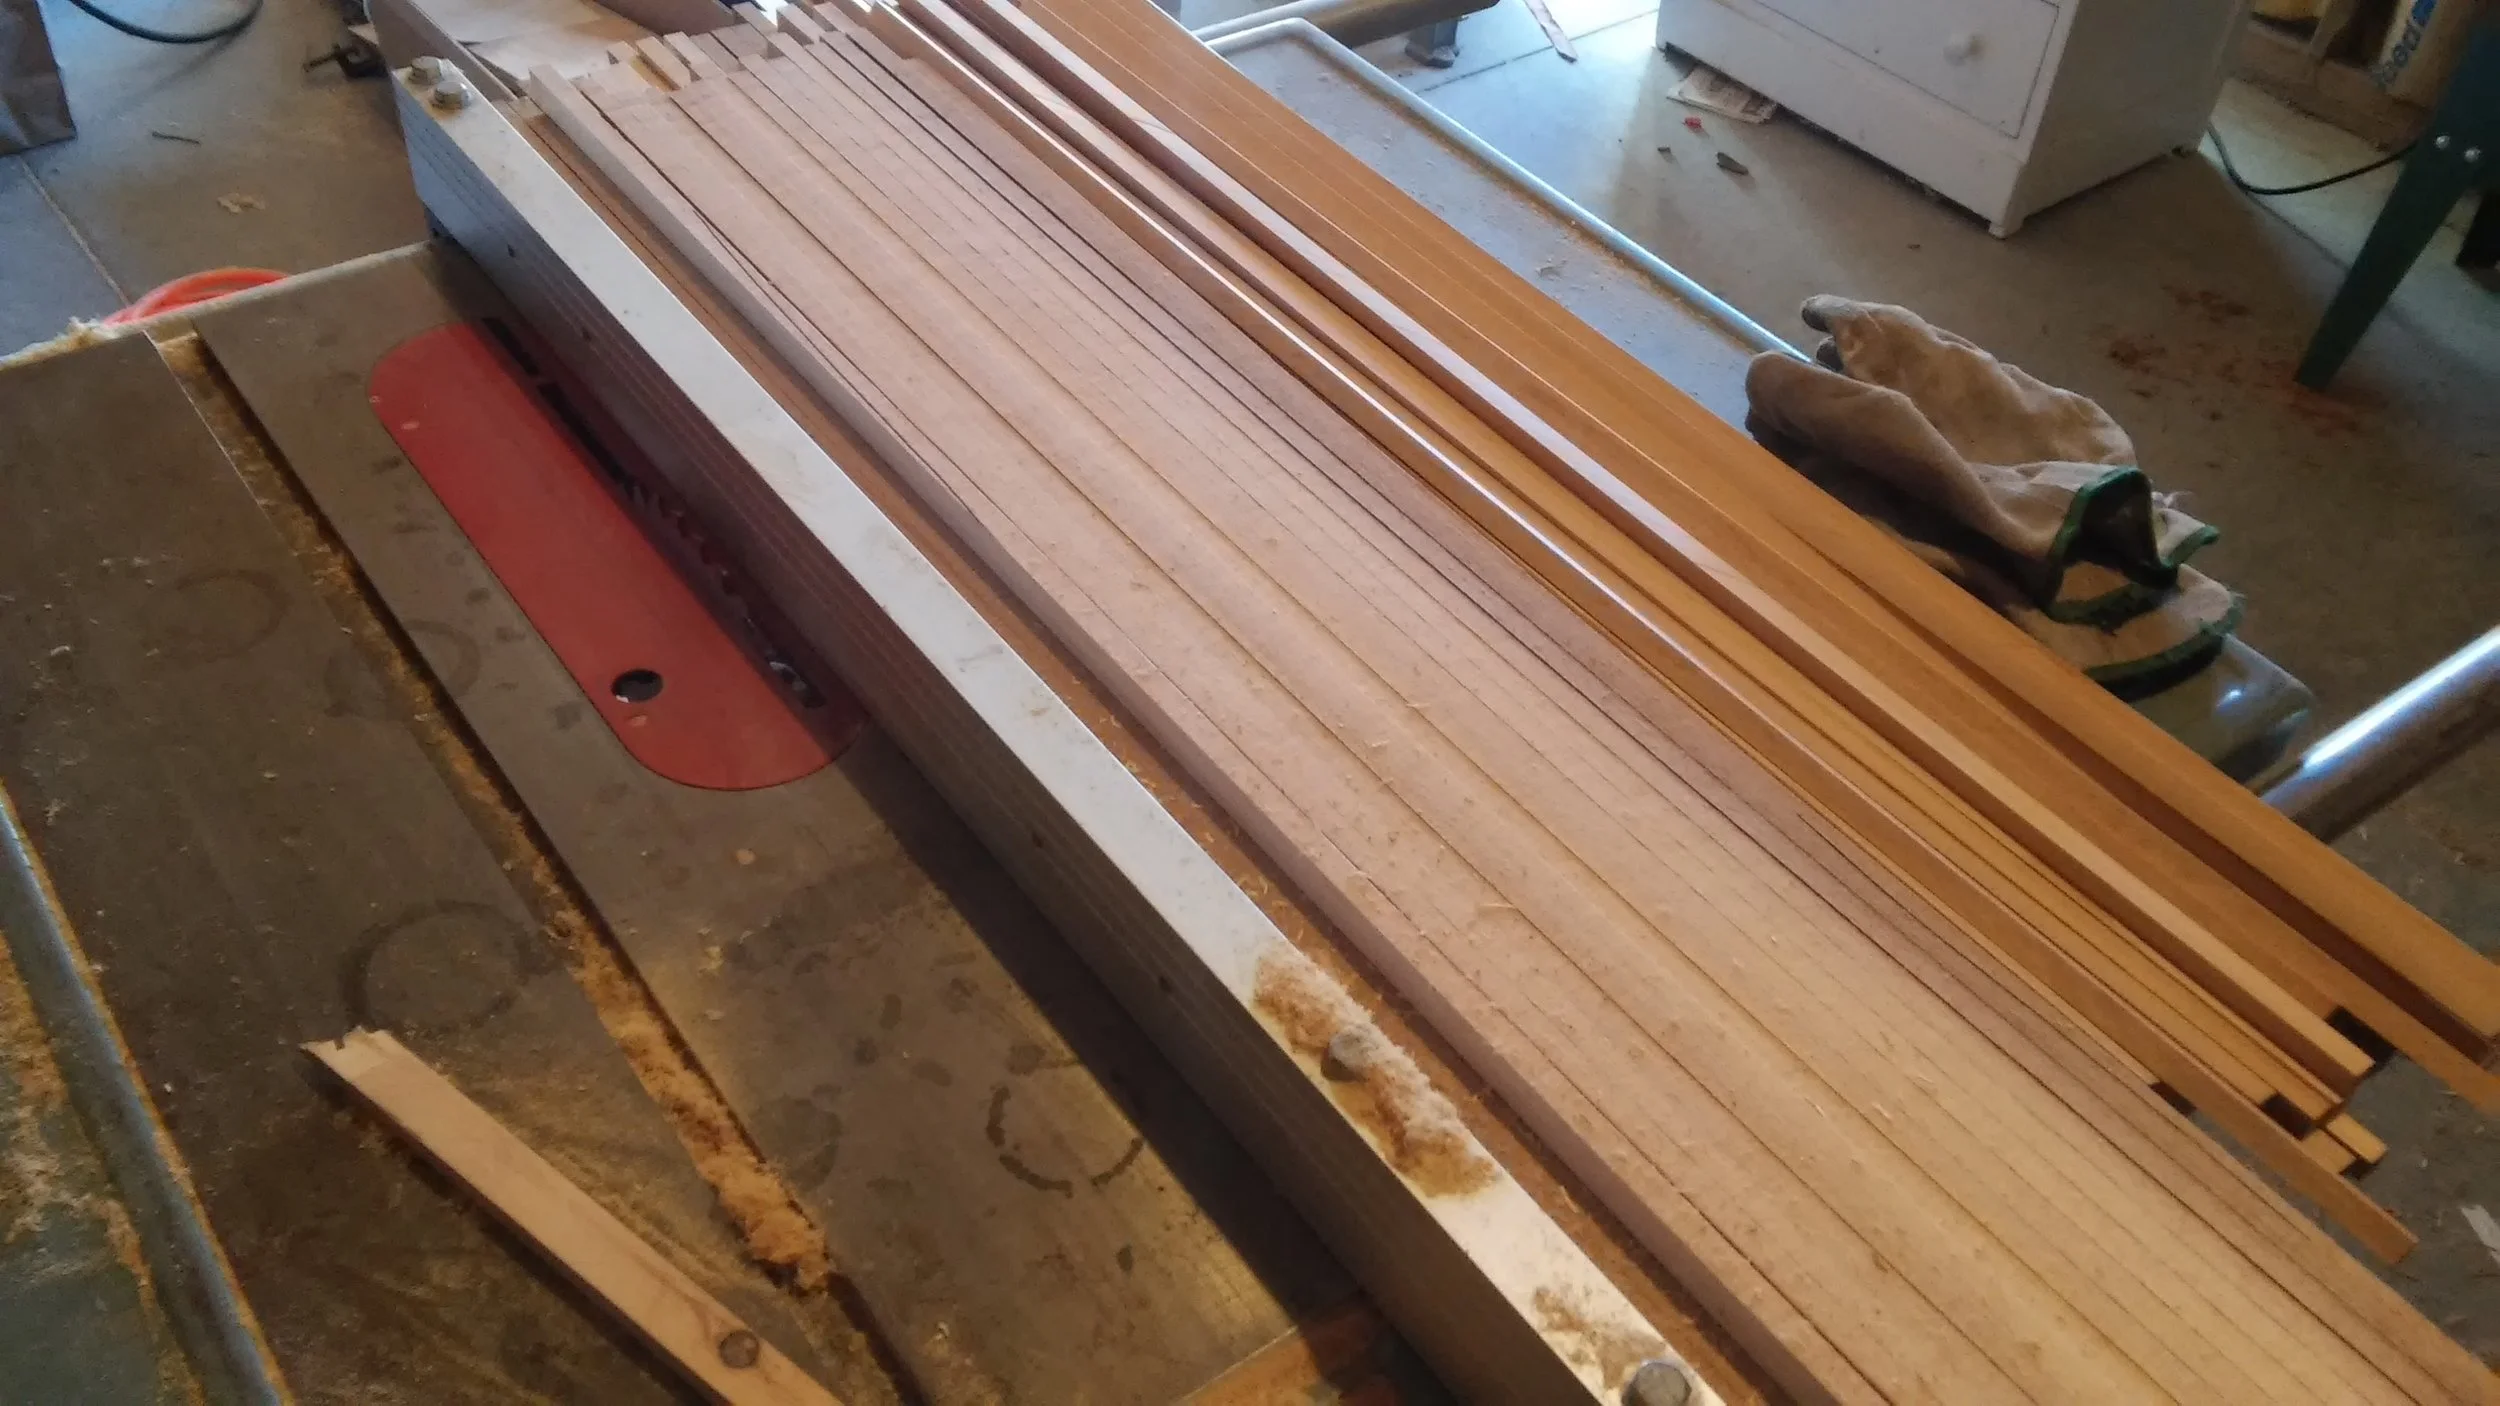
Sawing blanks on the table saw
From here we head over to the tablesaw. In a perfect world we'd be using a thin kerf ripping blade, so your losses go from 1/8" to 3/32" or even 1/16" in some extreme cases. But it isn't a perfect world, so 1/8" loss per cut it is. Each blank has to be sawn twice, once to get it out of the board and a second time rotated 90 degrees, to achieve a square 5/16". This process makes absolute mountains of sawdust by the way. Not as much as the next step though.

Spinning blanks into shafting on the lathe. This produces immense quantities of chips.
Next we take the square blanks to the wood lathe and spin them round. Simple enough concept. This is a fairly stressful process in the life of an arrow, so typically any arrows weak or with flaws die here long before they can blow up on your bow. This only results in a straight shaft though, not the sexy double taper we're looking for, we'll add those in later.

I wasn't kidding when I said mountains of shavings.
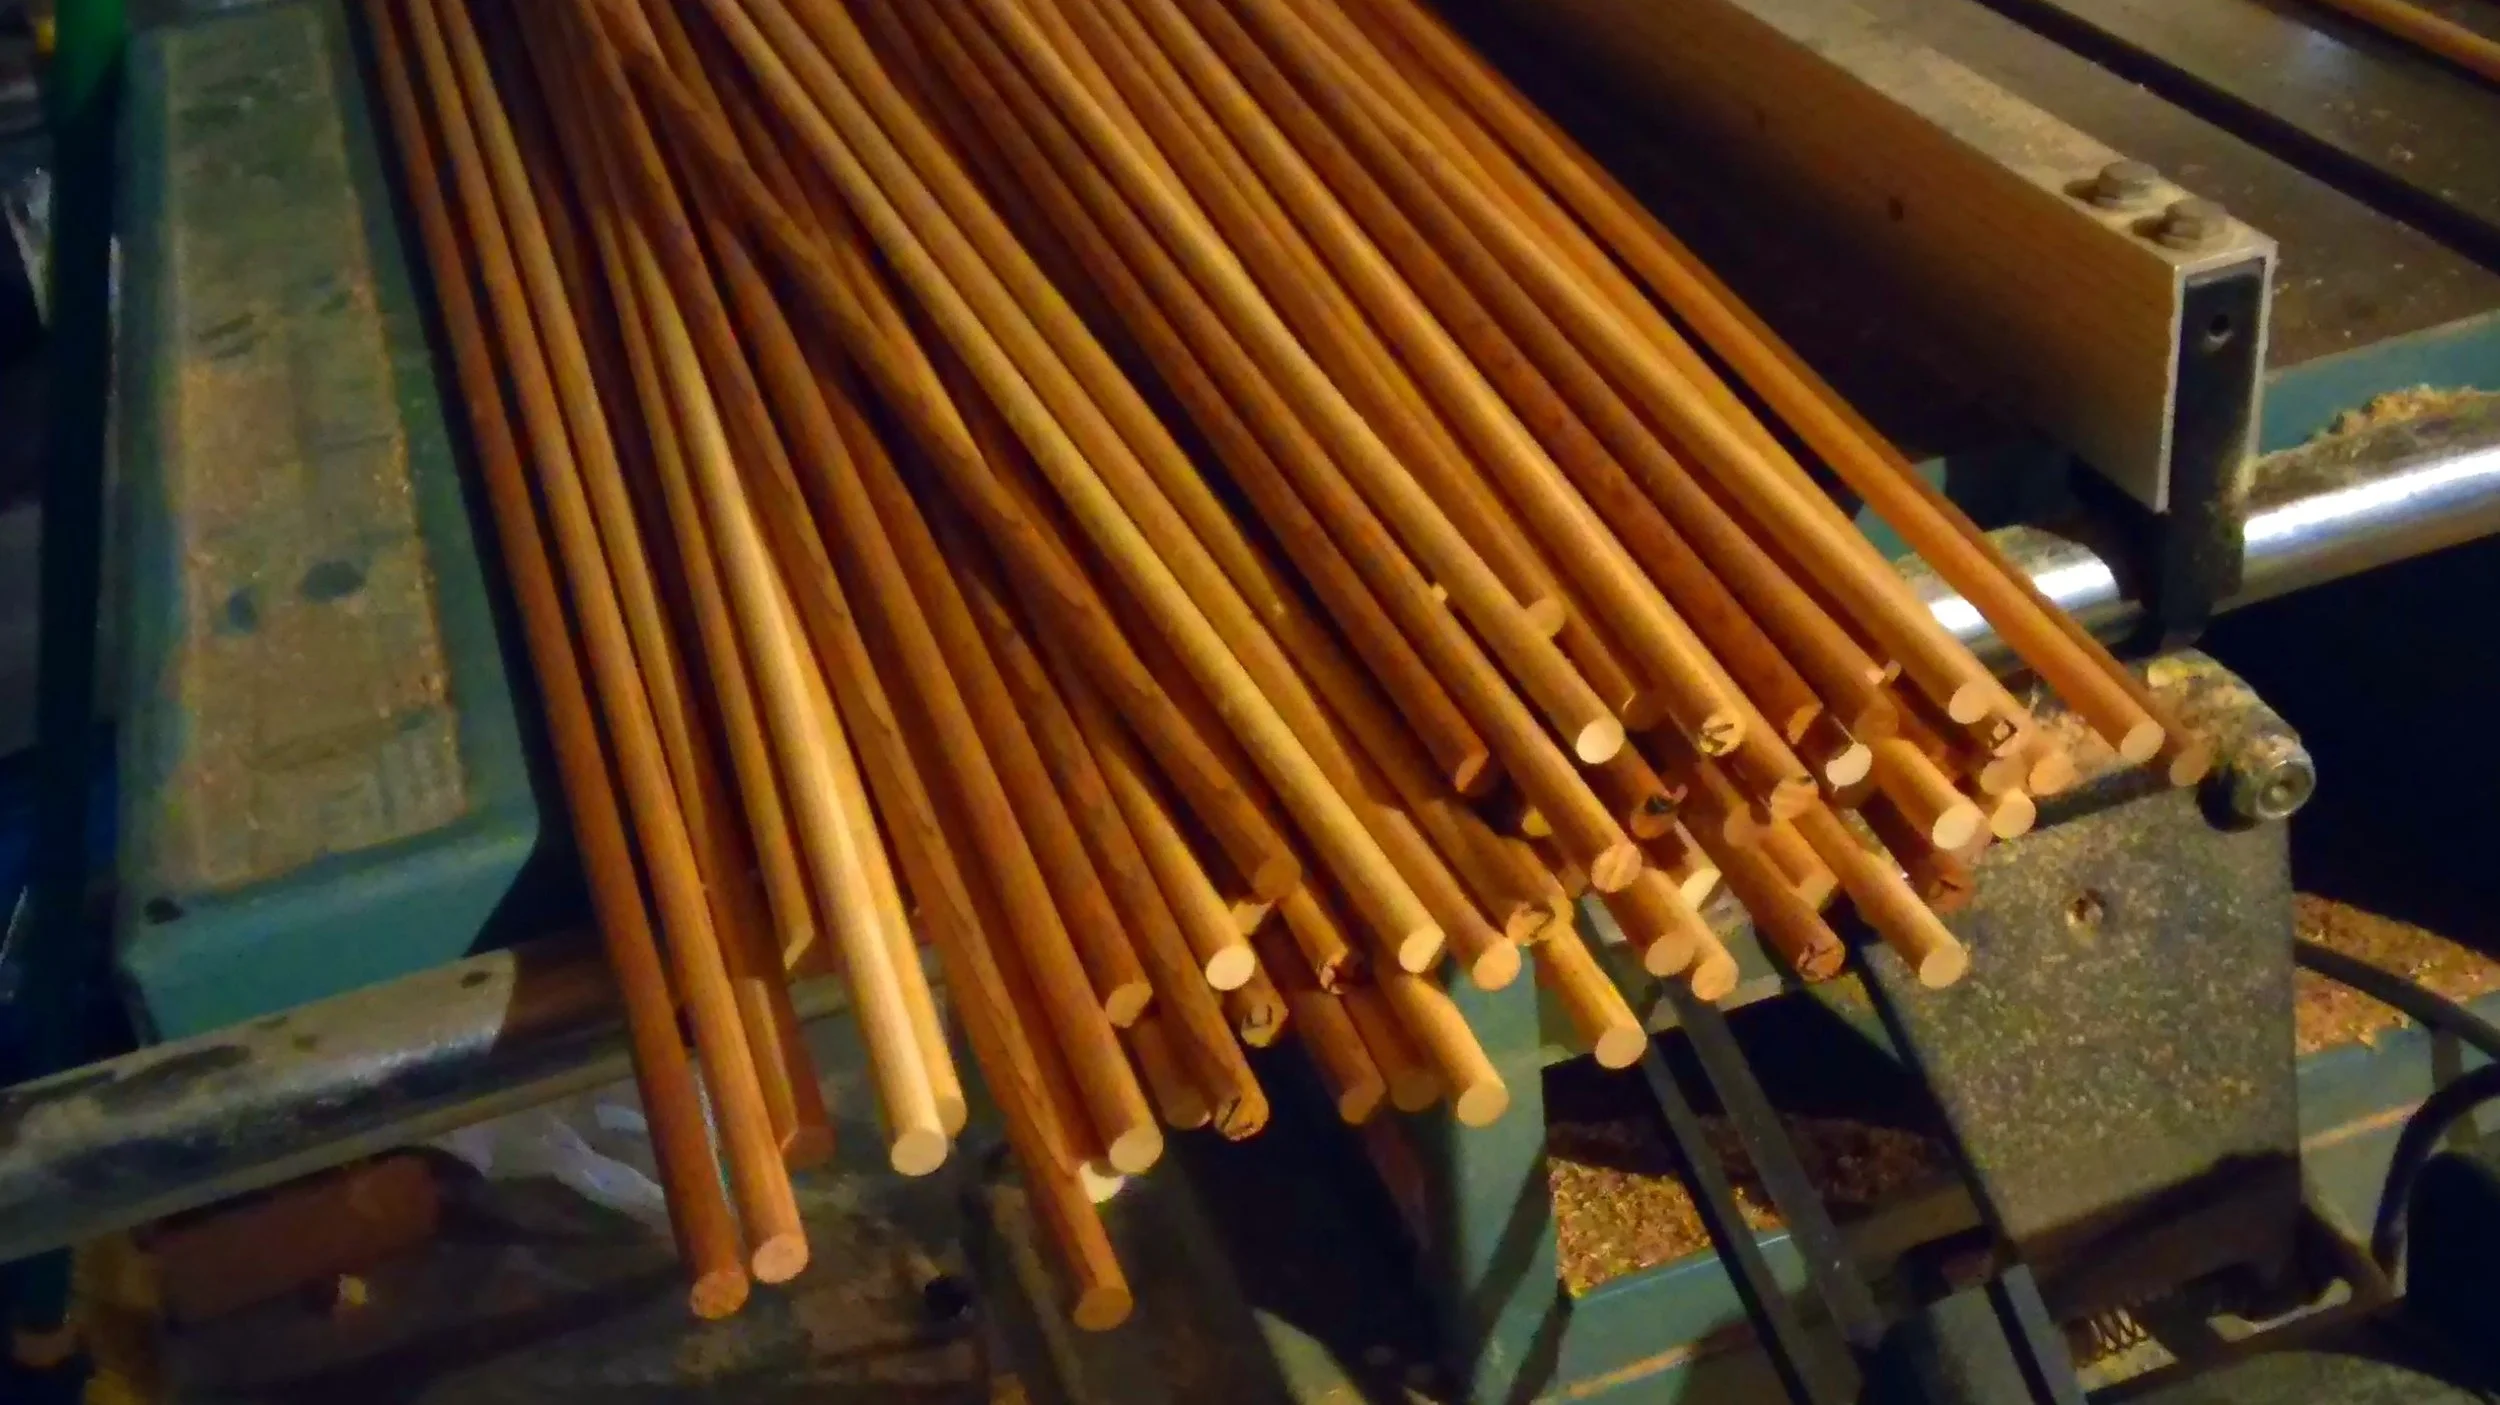
Rough shafting

Using a sharp knife, rolled along the ouside of a shaft, to quickly and easily cut it to length.
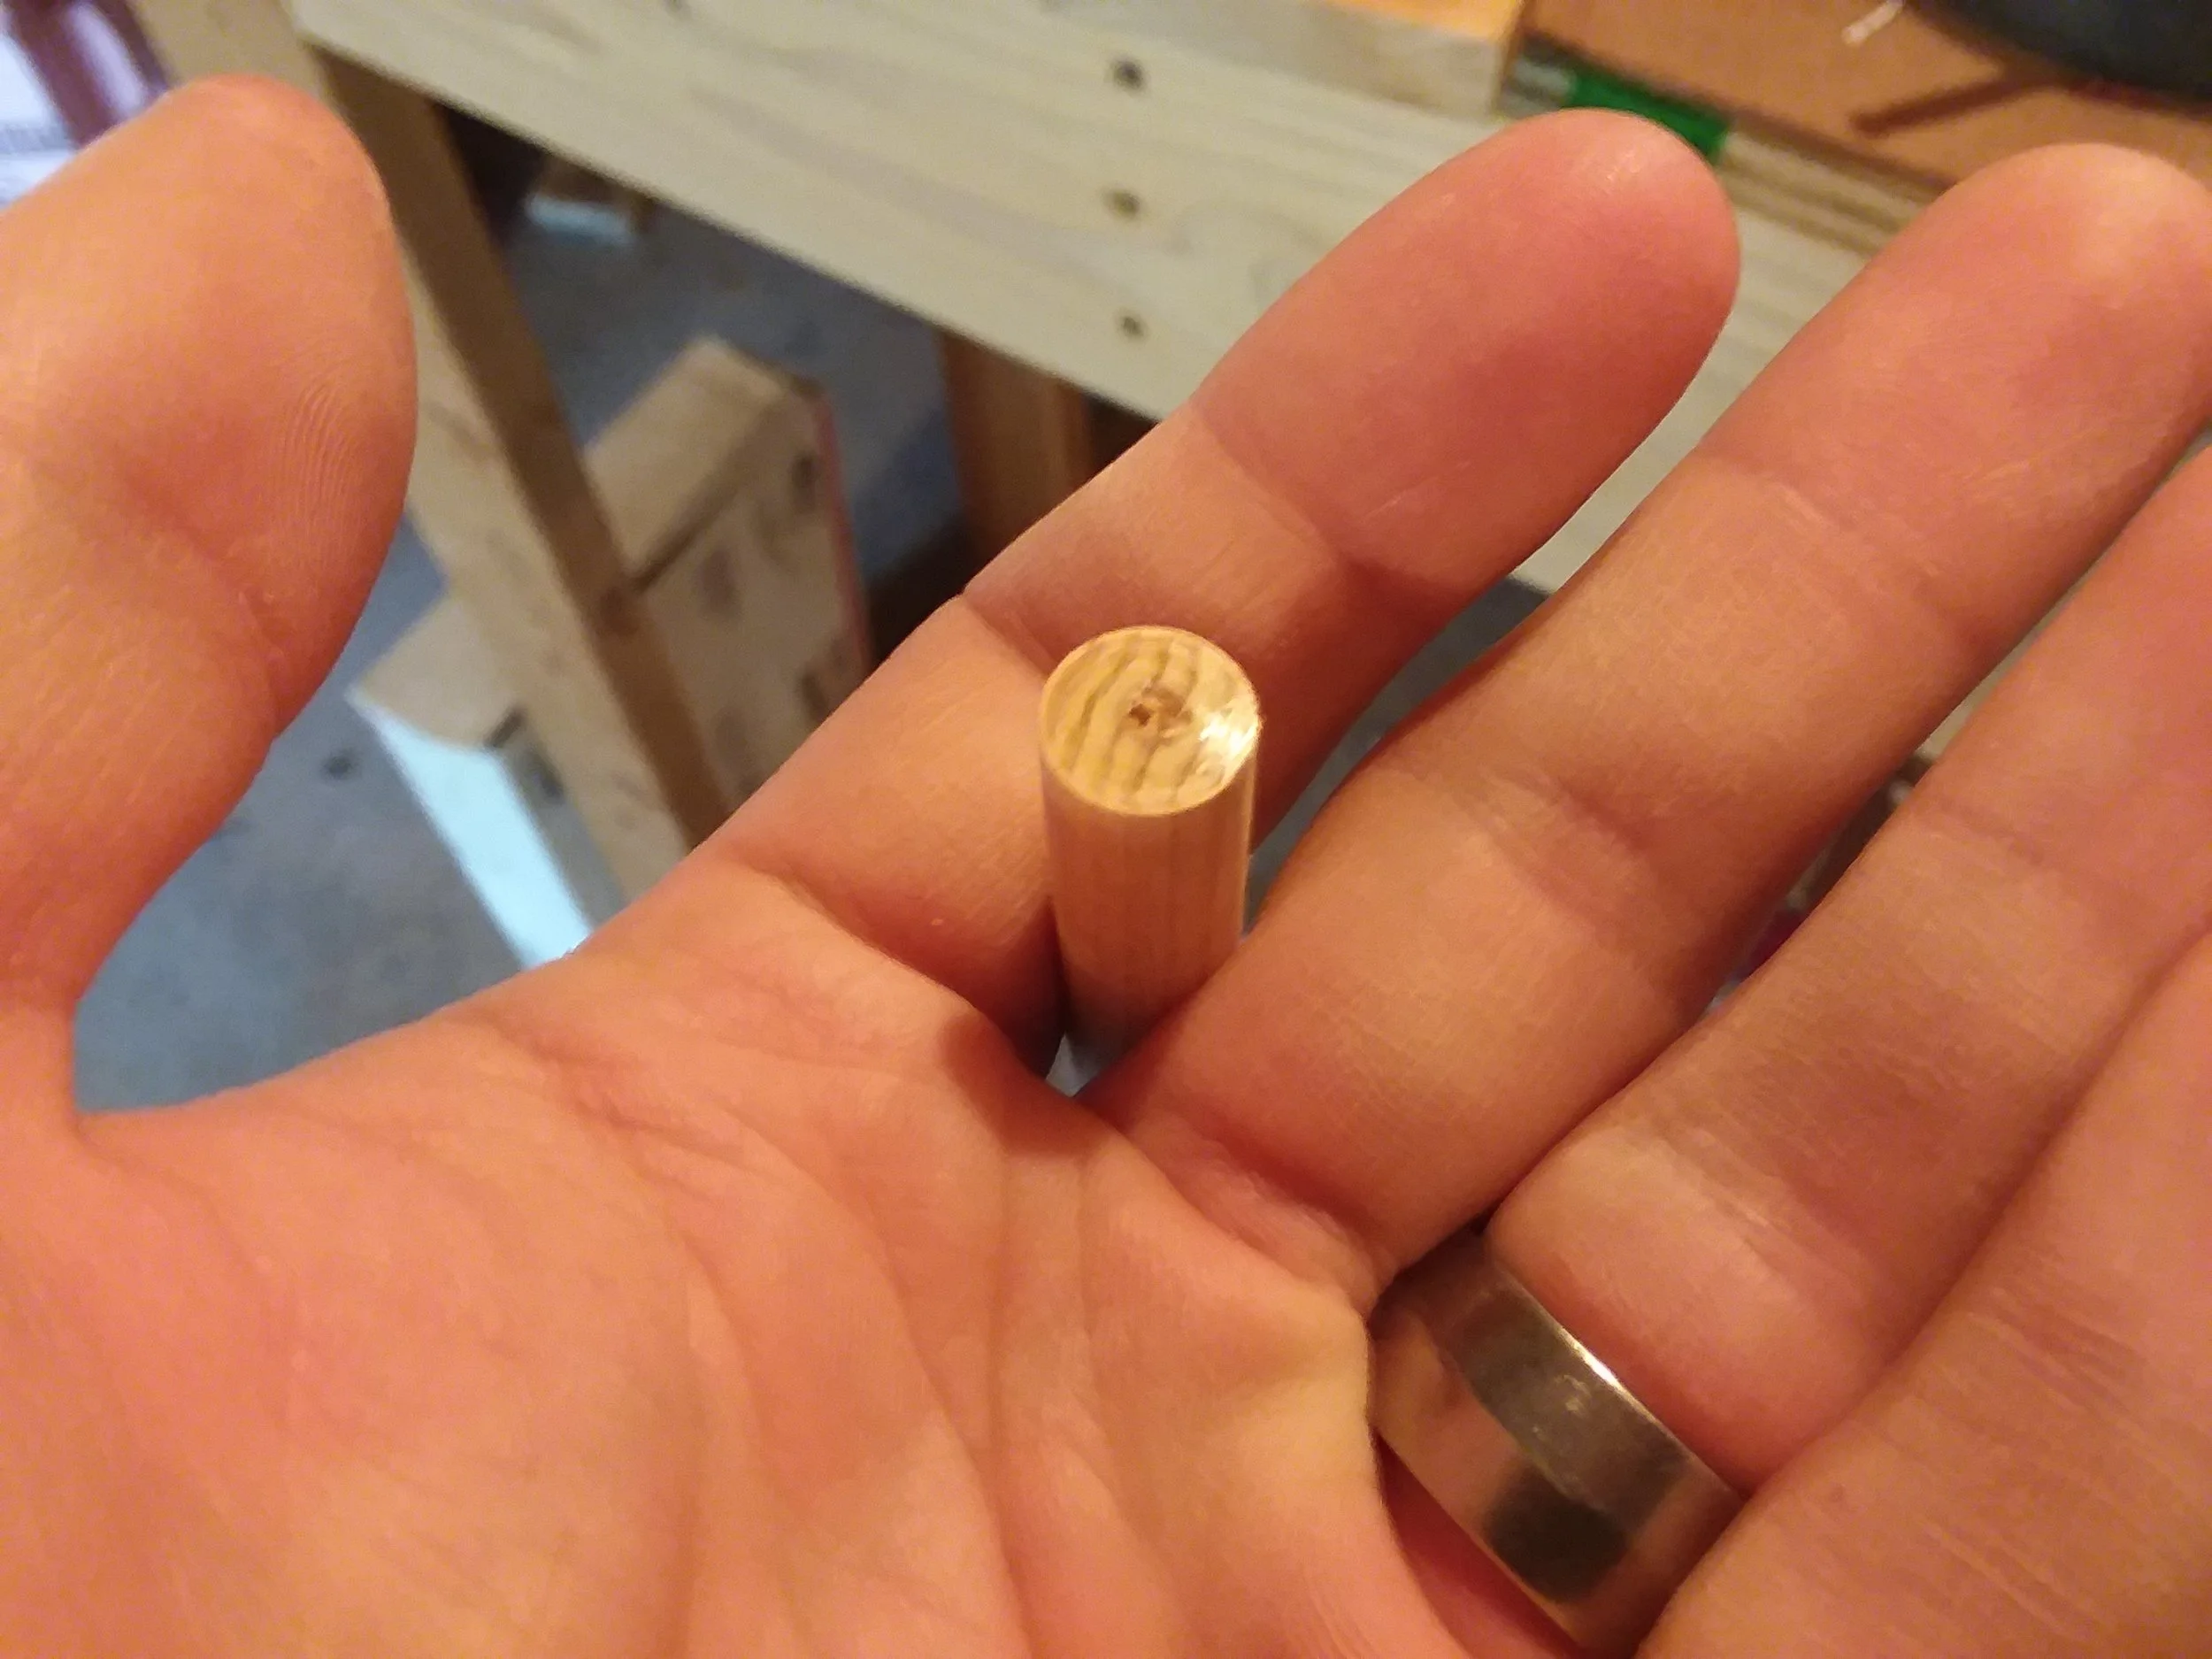
The resultant cut, quite clean.
From here we cut arrows to length. Easily done, without splitting, by rolling a sharp knife on the arrow shaft.

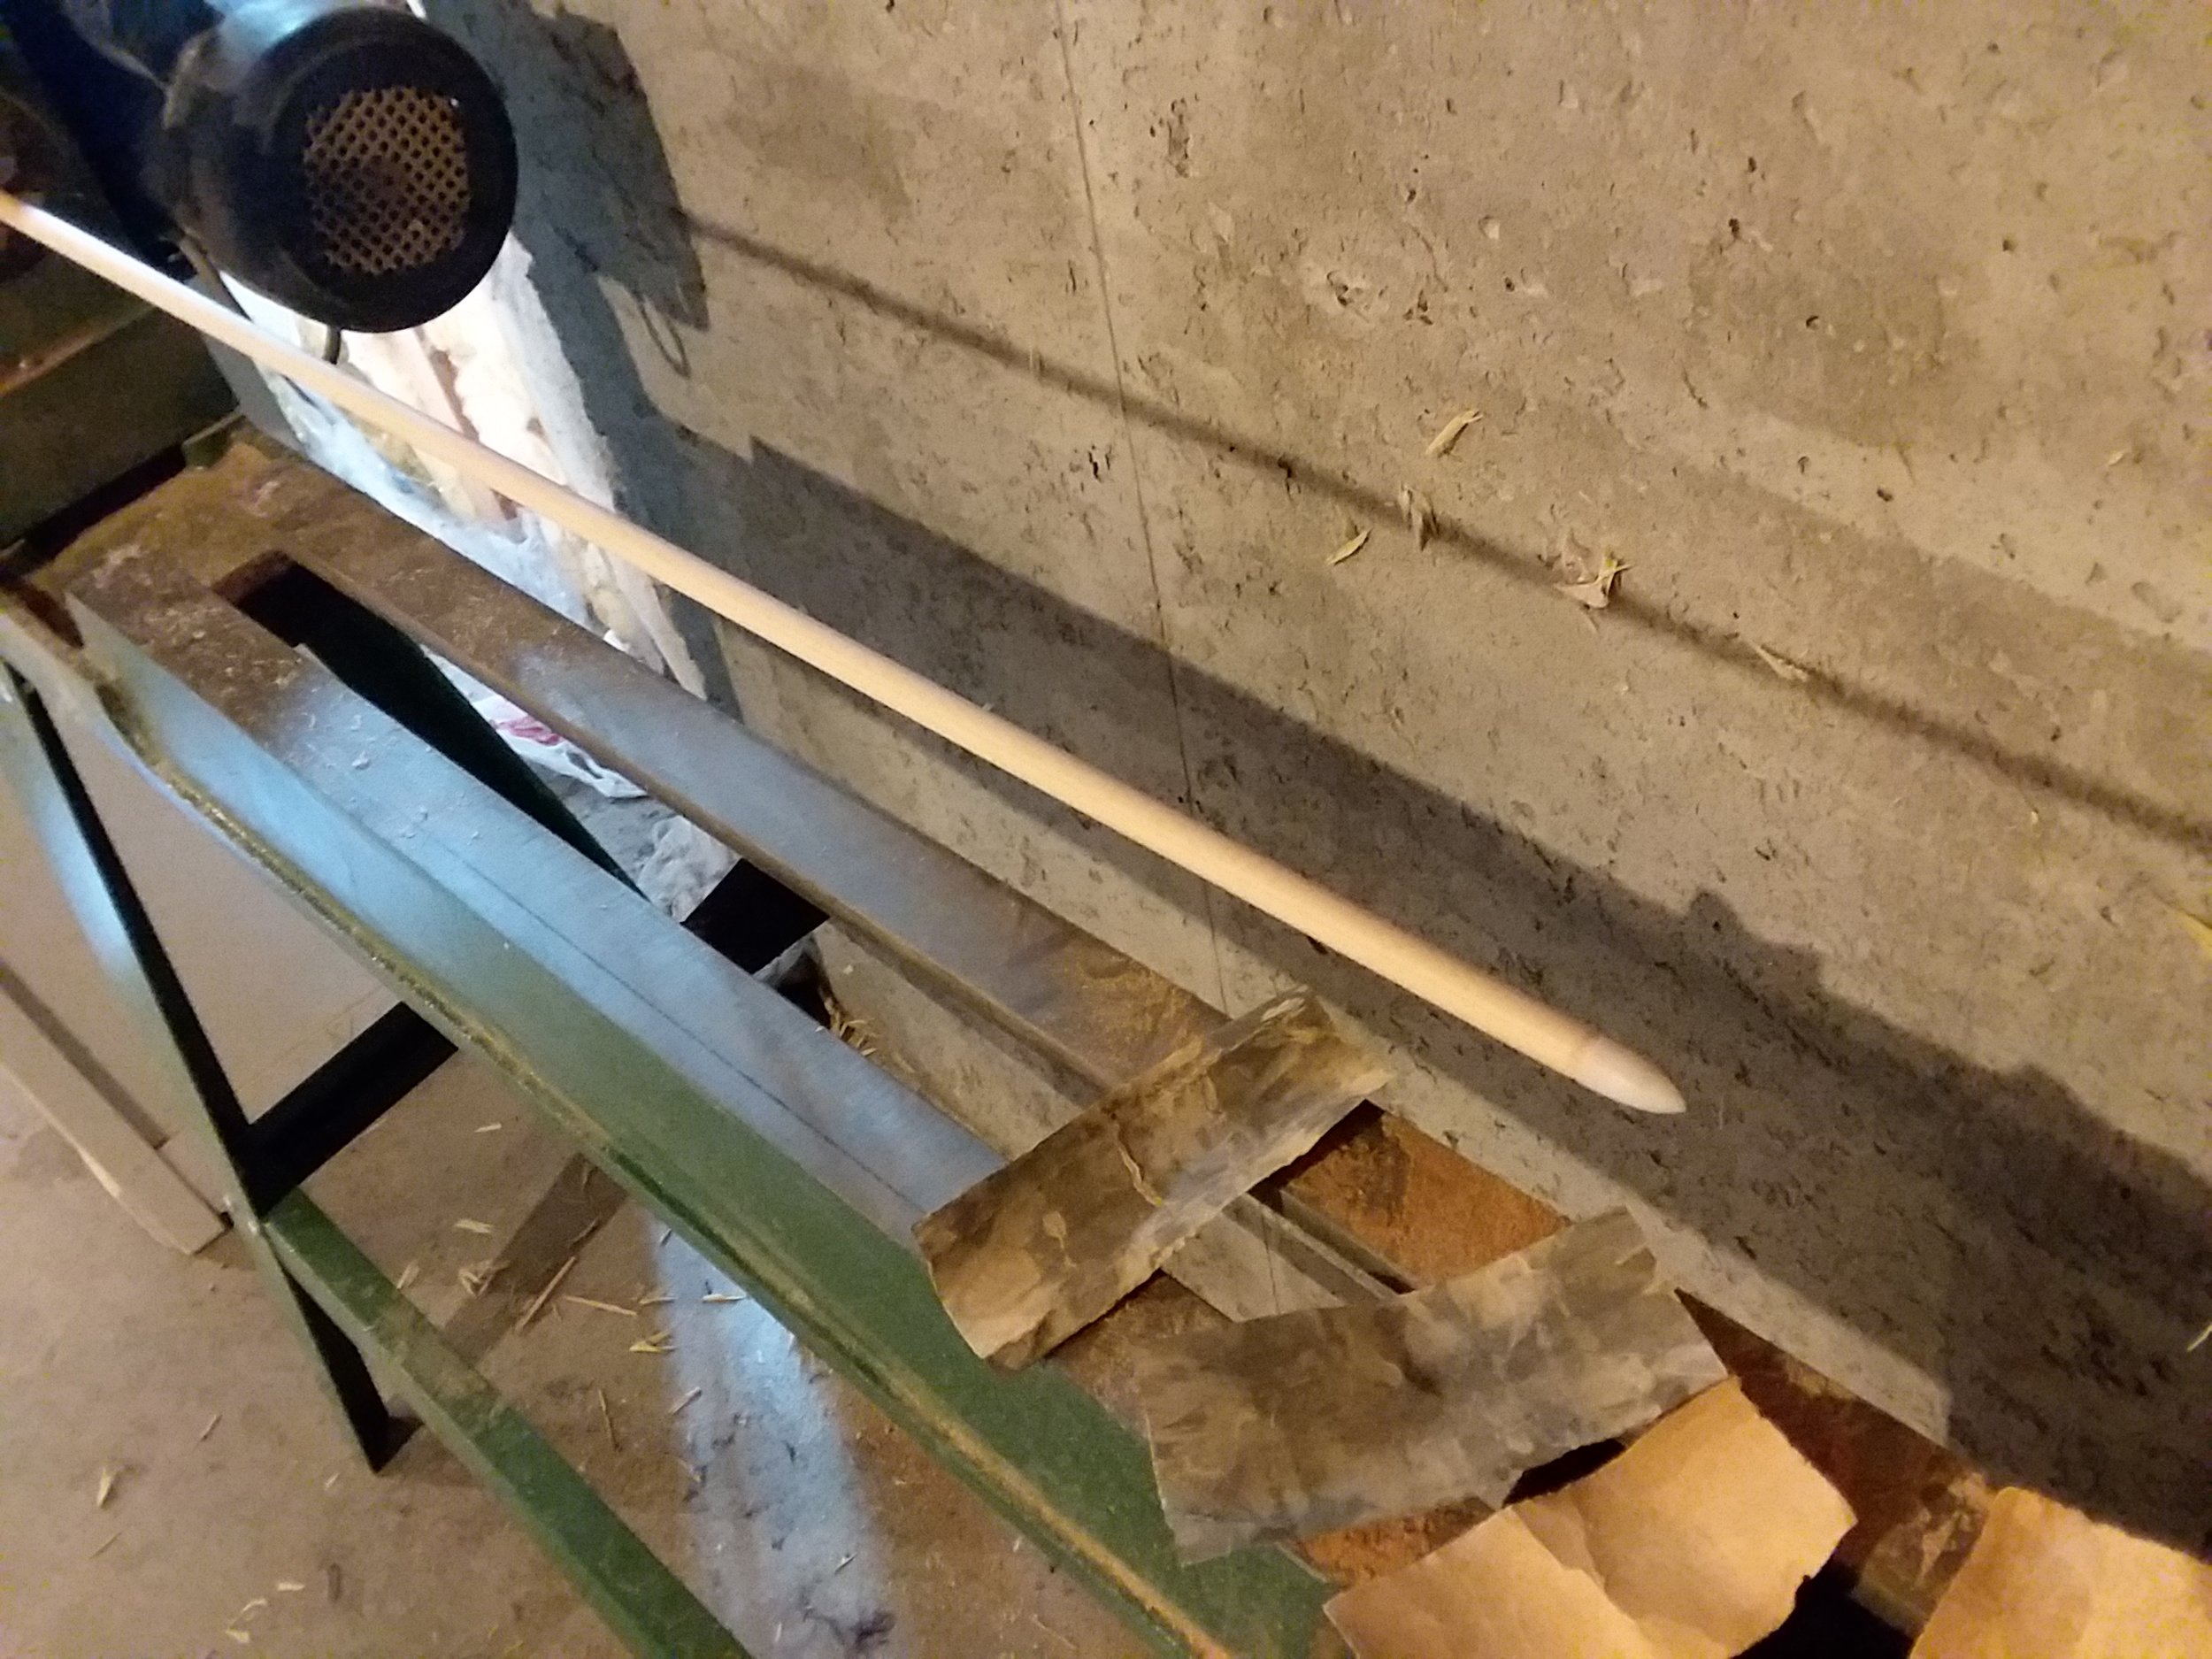
The super professional looking taper cutter, built to generate adjustable tapers on a wide variety of arrows.
We've designed special nocks and points in house, just for this application. The nocks are actually a derivative of the Bulbous Nock Project we did with Mike Loades, these offering a longer nock with deeper string groove. Both go on a taper, so over to the taper cutter we go to cut one on both ends.
Point glued on. Using the lathe and abrasive papers to apply the longer front taper as well as finish sanding, up to 1200 grit. We went with our ivory polymer, in Ottoman flight arrow style, to produce a light weight and durable point.
Using the points and nocks as a rough guide, we apply first the long taper from the point end then the shorter taper from the nock end. The shaft is then sanded to final finish, 1200 grit, and a thin layer of varnish applied. Turkish inspired, we went for ivory colored polymer. This is the same stuff we use in our rings, and a testament to it's durability not only is the nock fully functional the point is as well. Some members of this set were excluded for abusive testing to see what it all could take. Aside from becoming a little less shiny, nocks and points survived just fine.

Whoops......
Occasionally things get exciting. If your abrasive paper catches and wraps itself around the shaft as you sand, it'll pop one of these shafts before you know what has happened. And by pop I really mean mini-explosion pop. You'll be finding splinters in places you didn't even know you had and you'll never find enough to even pretend piece the shaft back together. Good demo of the longitudinal grain though allowing the shaft to fail more at random than along a single longitudinal grain boundary.

Finished shaft, from the point end.

Finished shaft, from the nock end.
Arrow with varnish applied. No need for heavy coats here, these arrows are to be light more than all-weather.

Fletching.... the before shot.
Time for fletching. This can easily be done by hand or with one of a myriad of different jigs. In this case we used Bohning fletch-tape. If you've never used it before, it is a product that allows incredibly fast fletching, but comparatively poor adhesion. For heavy use applications I'd recommend either another product, or to wrap both ends of the quill.

Using the machine lathe and a friction tool to wrap the front of the quill. This improves fletching durability/retention, protects your thumb, and adds quite a nice visual appeal. Also purple is the color of warriors, bite me.
Speak of the devil. We went over to the metal lathe, with it's lower spindle RPMs, and using a tool to apply constant tension wound thread onto the front of each quill. A dab of glue to secure the thread end, and that is it. Done. Ready for prime time.

All done. Three lighter cedar arrows against three darker ones. Seen here, anachronistically, against two Korean style bows and our Byzantine style ring. The bright outdoor light really makes the ivory points and nocks pop.
A few concessions were made in this project for the sake of usability. For one thing, the nocks could have been made even lighter and more delicate. The points, and really the whole point end, could have also been given a much more aggressive taper. Goodness knows the Turkish versions were more aggressively barrel tapered, shorter too for use with a siper. These are much longer, 33.25" tip to tip, giving 32.75 inches of solid draw length. The lighter sapwood shafts are 380 grains, give or take, while the darker heartwood shafts are 410 grains. All in all, I'm very pleased with how this project came out. There is also plenty of unused shafting for further projects.